

Bykski

Custom PC Water Cooling Kit Installation Tutorial by Bykski
Custom PC Water Cooling Kit Installation Tutorial
Bykski’s video tutorial shows how to assemble a custom water cooling loop in a desktop PC, from mounting the water blocks and radiator to fitting rigid tubing. Use the video alongside the instructions for your own kit. The written steps below explain how to fill the loop, bleed trapped air, and check for leaks before first boot. This page is for viewing the tutorial only.
Watch the Installation Video
Find a Step in the Video
| 02:30 | Mount the CPU water block |
|---|---|
| 04:10 | Fit the GPU water block |
| 09:10 | Fit the fans to the radiator |
| 10:50 | Mount the pump and reservoir |
| 12:30 | Shape the rigid tubing |
Planning Your Loop
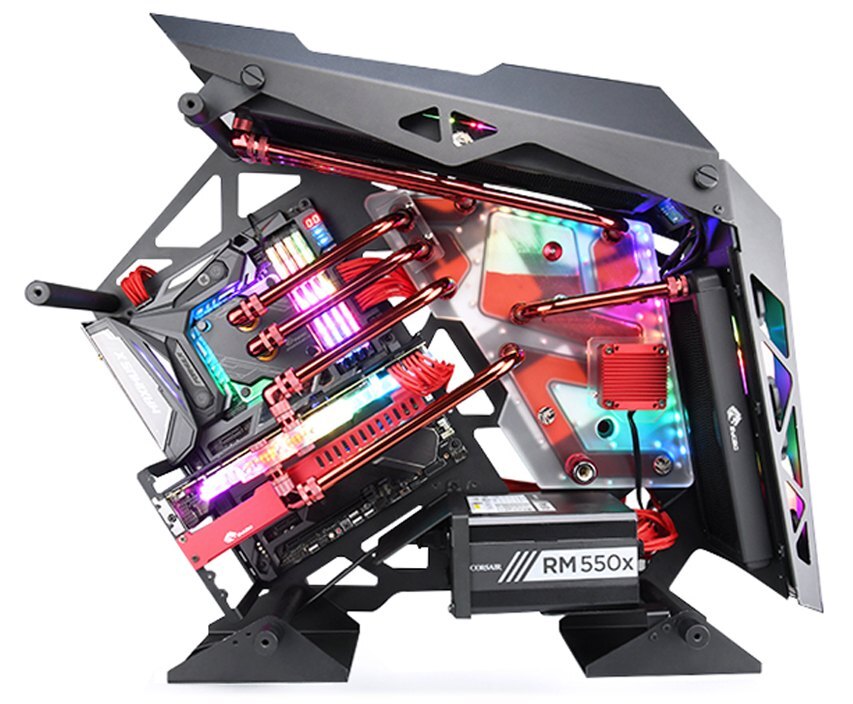
Example PC with a distribution plate.
Start with the mounting points
Check where your water blocks, radiator and pump will sit before you size the tubing. If your build uses a distribution plate, mount it first and use its port diagram to plan the tube runs.
Installation & Use
For the build, have your water blocks, radiator and fans, pump and reservoir, matching fittings and tubing, and compatible PC coolant ready.
FAQ
Does this page include a water cooling kit?
This page gives you access to the installation video. No hardware is supplied.
Can I follow the same steps if my PC uses a distribution plate?
Use the video for general assembly. Mount your plate first and route the tubing using the port diagram for your specific plate.
How do I keep the pump from running dry when I fill the loop?
Add coolant to the reservoir before powering the pump. Stop the pump before the reservoir empties and refill it before switching the pump back on.
Should I leak-test the loop before the PC’s first boot?
Yes. Fill the loop and run only the pump while you check each connection for leaks. Keep the rest of the PC unpowered until the loop passes the test.
- Do not purchase this link, only for viewing the tutorial video
- As some products have been upgraded and changed. The steps shown in the tutorial video may have been different from the actual operation of the new version of products .
- Please refer to it as appropriate, but the general installation ideas are common. And please install it in conjunction with the video and the installation instructions of the cooling kit.